
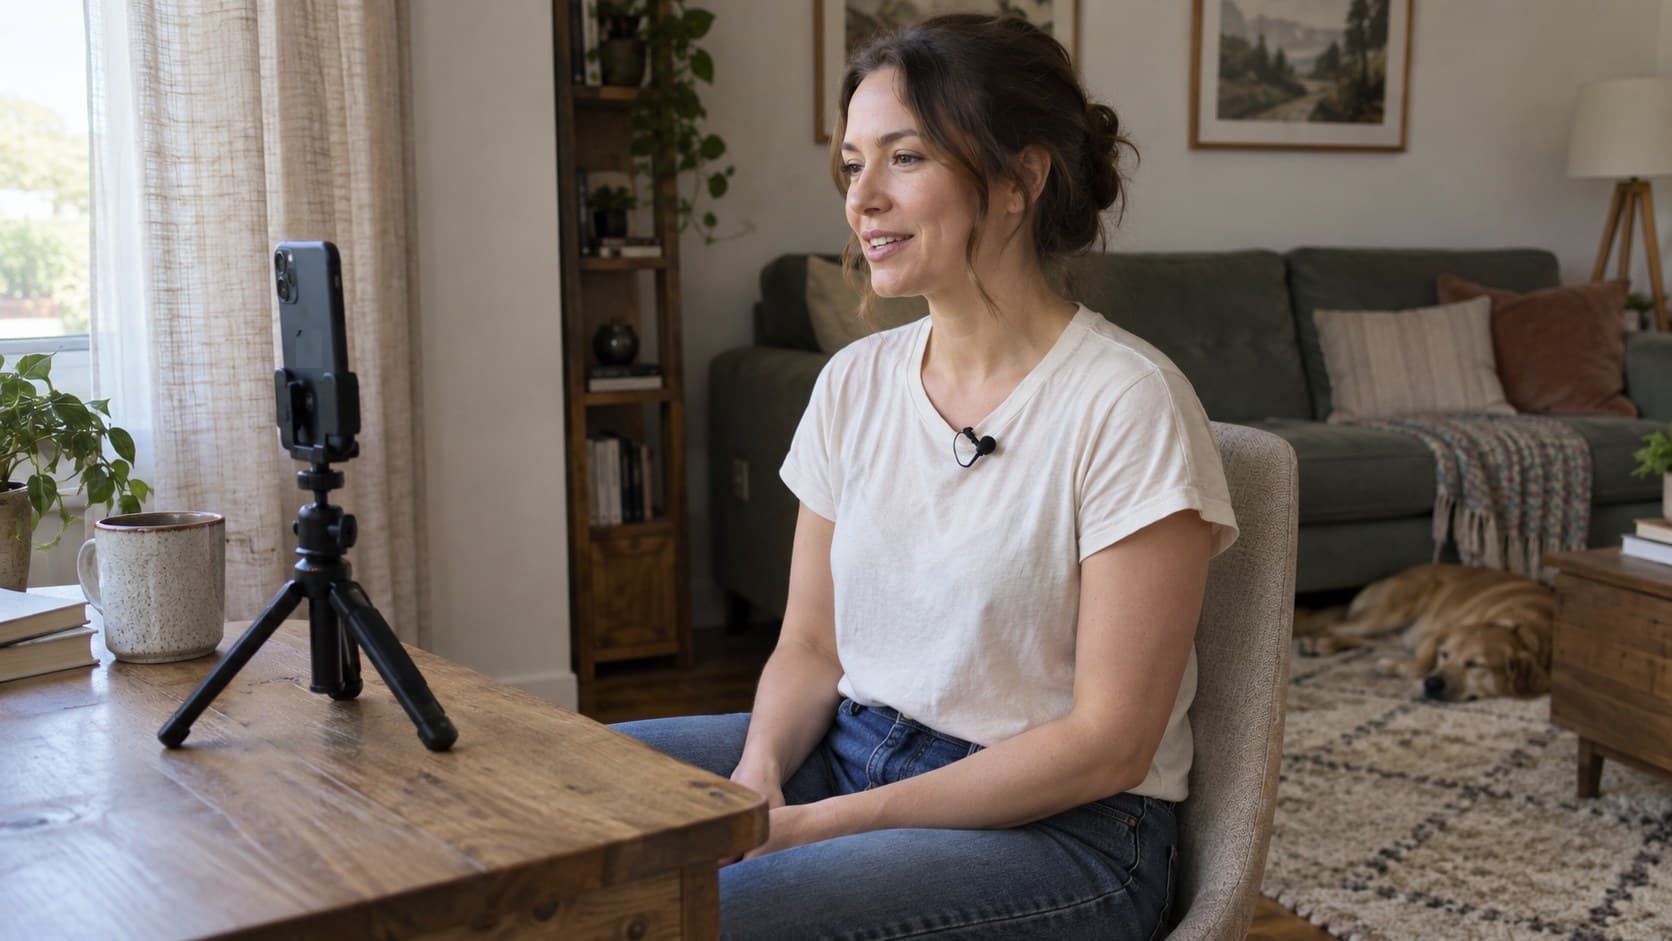
Key Takeaways
What you'll learn in this article
- Check the original recording before changing your edit: room reverberation and doubled audio need different fixes.
- Compare the same spoken sentence in your usual setup, closer to the microphone, and in a softer-furnished space.
- Choose the recording position before filming a batch; a good-looking background is not enough if the explanation is hard to follow.
- Use clear narration and close-up footage when a wide demonstration requires the camera to be far from your voice.
Key Takeaways
- Check the original recording before changing your edit: room reverberation and doubled audio need different fixes.
- Compare the same spoken sentence in your usual setup, closer to the microphone, and in a softer-furnished space.
- Choose the recording position before filming a batch; a good-looking background is not enough if the explanation is hard to follow.
- Use clear narration and close-up footage when a wide demonstration requires the camera to be far from your voice.
To reduce echo in TikTok videos, first listen to the original clip with music and extra voice tracks removed. If the voice already sounds hollow, reduce the distance between your mouth and the recording microphone and try a room with curtains, rugs, or upholstered furniture. Record a short comparison before reshooting everything. If the original is clean but the edit sounds doubled, inspect overlapping audio tracks instead of changing rooms.
The goal is not studio-perfect sound. It is a spoken hook and explanation that a viewer can understand without replaying every sentence. Here is a practical way to find a repeatable setup before your next post.
Find out what you are actually hearing
Creators often call several different problems “echo.” Listen to one sentence followed by a brief pause, first in the original camera file and then in the exported edit. Use headphones at a comfortable volume so you can hear the difference.
A hollow voice with a lingering tail
If the room seems to keep speaking after you stop, reflected sound may be the problem. In everyday language this is often called echo; technically, a dense wash of reflections is reverberation, while a distinct delayed repeat is an echo.
Shure's recording guide explains that hard surfaces reflect sound and that moving a microphone farther from the source makes ambient room sound more apparent. A phone across a tiled kitchen can therefore capture a very different balance of voice and room than a microphone near your mouth.
Two copies of the same words
If the original sounds normal but the edit has a doubled voice, check whether the camera audio and a separately recorded microphone track are both playing. A small timing difference between them can sound like an echo or a thin, phasey voice.
Mute one track at a time. Keep the intended speech source, then check that the remaining audio matches the picture. Do not mute useful demonstration sounds automatically; retain them only where they help and do not duplicate the narration.
Steady hiss, rumble, or buzzing
A fan, refrigerator, clothing rubbing a microphone, and room reflections are different problems. Listen during the pause: a continuous noise points toward a source that needs its own fix. Moving to a softer room will not necessarily remove a noisy appliance, and lowering the entire clip makes the voice quieter too.
This diagnosis prevents an expensive detour. You do not need to buy acoustic treatment to fix an accidentally duplicated track.
Run a three-take test before recording the whole post
Use the opening sentence you actually plan to publish. Include a second sentence with the explanation's most important term, then leave a short pause. Keep your delivery and speaking volume reasonably consistent.
- Record your normal setup. Use your usual camera position and room. This is the reference, not the version you have to defend.
- Bring the microphone closer. If you record with the phone's built-in microphone, move the phone closer and accept a tighter test frame. If you use a separate microphone, move that instead. Avoid breathing directly into it or letting clothing rub against it.
- Try a softer location. Keep the improved distance and repeat the lines near curtains, a rug, or upholstered furniture rather than beside bare walls and glass.
Descript's guide to recording audio describes how soft materials can reduce reflected sound in a home recording space. This is a useful starting point, not a promise that any blanket placement will solve every room.
Listen to all three takes at similar perceived speech loudness. A louder take can seem more impressive without being clearer. Judge whether word endings remain distinct, whether the room tail distracts during the pause, and whether the opening is understandable on your phone speaker.
Do not copy a universal microphone-distance number from a different setup. Phone microphones, clip-on microphones, and desktop microphones have different placement needs. Start with the device's guidance, make a modest adjustment, and listen. If getting closer introduces pops, distortion, or excessive bass, back off or change the angle.
Write down the winning location, microphone position, and camera framing. A simple reference photo can make the next session much easier to repeat.
Match the shot plan to the audio you can capture
Fixing echo in TikTok videos becomes easier when you stop asking one wide shot to do every job.
A wide view may be necessary to show a workbench, exercise movement, or kitchen counter. It does not follow that a distant phone must also capture the entire explanation. Choose the format around the information the viewer needs:
- Talking-head advice: use a closer frame if the setting is not essential to the lesson.
- Hands-on tutorial: capture the action clearly, then add a separately recorded explanation if live speech is not necessary.
- Demonstration with important natural sound: keep the original sound for the relevant action and record the spoken setup separately.
- Reaction or live conversation: prioritize an appropriate nearby microphone; replacement narration cannot recreate the original exchange honestly.
For a separate voiceover, describe the action rather than pretending the narration was captured live. Preserve meaningful evidence: an appliance's actual noise, for example, should not be replaced with a cleaner invented sound in a product demonstration.
This also helps your hook. If the opening is one clear sentence instead of a long introduction delivered from across the room, there is less speech to repair. The free hook generator can help you explore concise wording, but choose language that matches what the video really demonstrates.
If the footage is already recorded, set a repair limit
Keep an untouched copy of the source. Work on a duplicate and compare a short section before processing the entire video.
If your editor offers reverberation reduction or speech enhancement, try a restrained setting. Listen especially for smeared consonants, an unnatural watery sound, or missing quiet words. Different tools behave differently; a cleaner pause is not a useful improvement if the spoken instruction becomes less accurate.
Use this decision rule:
- If every important word is understandable and the room sound is only mildly distracting, light cleanup may be enough.
- If cleanup makes the voice less natural or removes parts of words, reduce it rather than stacking more effects.
- If key instructions remain unclear, rerecord the explanation or the affected talking-head segment.
Adding music is not a substitute for intelligible speech. It introduces another sound competing with the same message. Make the voice work alone before deciding whether a background track serves the post.
For a short instructional clip, a fresh explanation in a better position may be a smaller job than repeated processing experiments. That is a production choice, not evidence that the original idea was weak.
A hypothetical kitchen tutorial
Imagine a cooking creator filming a sauce technique with the phone at the far end of a hard-surfaced kitchen. The hands and pan are visible, but the explanation sounds distant and hollow.
The creator tests the same sentence closer to the phone, then records it in an adjoining furnished room. The closer recording improves clarity, and the furnished room provides a usable narration track.
Instead of rebuilding the entire tutorial, the creator keeps the useful close-ups, records an accurate voiceover, and preserves the real pan sound only where it helps explain the action. For the next post, they plan a short spoken introduction near the microphone followed by close-up demonstration footage.
This is an illustrative workflow, not a customer result or a prediction of higher views. The improvement being checked is whether the viewer can follow the instruction.
Turn the fix into a repeatable next-post brief
Avoid making audio repair a separate project every time you film. Add five lines to your next-post notes:
- Viewer problem: what question does this clip answer?
- Opening: what single sentence makes the promise clear?
- Audio position: where will the microphone and speaker be?
- Visual proof: what action or result must remain visible?
- Final check: can someone understand the exported version on a phone speaker?
InsightTok AI can help with the planning around that brief. Next Post Studio brings together a niche-relevant rising sound, hook options, and a personalized posting-time recommendation. It does not fix room acoustics; use those suggestions after you have a recording approach that makes the idea understandable.
After publishing, review comparable posts rather than declaring that one cleaner recording caused a reach change. TikTok Studio's official documentation describes account and video analytics, viewer activity times, and engagement insights. Available features can vary, so use the metrics your interface actually provides.
Look for comments about unclear speech alongside your available performance data. Keep topic, format, and approximate runtime reasonably similar when evaluating the next attempt. The three-take recording test checks sound directly; a later post comparison is only directional evidence about audience response.
Before you film again
The most useful fix for echo in TikTok videos is the one you can repeat without rebuilding your room. Confirm the intended microphone is recording, listen to the real opening sentence, choose the clearest practical position, and check the exported edit before posting.
Once the recording setup is reliable, use InsightTok AI to organize the next idea, hook, sound choice, and posting window. Create your next-post plan when you are ready to turn that clearer explanation into a publishable video.
InsightTok AI Team
Expert in TikTok growth strategies and social media analytics. Helping creators reach millions with data-driven insights and AI-powered recommendations.
Ready to Grow Your TikTok?
Get AI-powered analytics and content recommendations to boost your views and engagement.
Start Free TrialRelated Posts
Why Your Organic Videos Never Become TikTok Spark Ads: The Creator Portfolio Optimization Framework
Unlock your TikTok content's potential for Spark Ads with our Creator Portfolio Optimization Framework. Turn your content into paid campaign assets and increase your TikTok Spark Ads creator earnings.
Wind Noise in TikTok Videos: Save the Footage Without Losing the Message
Fix wind noise in TikTok videos with a speech check, gentle cleanup, honest replacement narration, and a better plan for your next outdoor shoot.
Why Your TikTok Likeness Is Being Cloned Without Your Knowledge: The AI Impersonation Detection and Creator Identity-Protection Framework to Catch Unauthorized Deepfakes, Prevent Voice-Clone Theft, and Protect Your Audience Trust in 2026
This post delves into the world of TikTok deepfake detection for creators to help them protect their identities and maintain trust with their audience.