
Key Takeaways
What you'll learn in this article
- Record the original state before starting any cleanup, repair, or makeover you cannot easily reverse.
- Match framing, camera position, lighting, and scale so the comparison shows the work rather than a filming trick.
- Choose whether the viewer needs a satisfying reveal or an explanation, then build the sequence around that job.
- Use audience questions and comparable post analytics to choose the next demonstration, not to declare a universal winning format.
Key Takeaways
- Record the original state before starting any cleanup, repair, or makeover you cannot easily reverse.
- Match framing, camera position, lighting, and scale so the comparison shows the work rather than a filming trick.
- Choose whether the viewer needs a satisfying reveal or an explanation, then build the sequence around that job.
- Use audience questions and comparable post analytics to choose the next demonstration, not to declare a universal winning format.
Good before-and-after TikTok videos make one change easy to judge. Record the starting state, preserve a reference frame, repeat the camera setup after the work, and show enough of the process to explain what actually changed. A clever transition is optional; a fair comparison is not.
This guide is for DIY, cleaning, organizing, craft, and home-project creators preparing a transformation post. The filming recommendations below are practical production guidance, not claims about a secret TikTok ranking rule.
Define exactly what the comparison should prove
Before recording, finish this sentence: “The viewer should be able to see that I changed ___ by doing ___.”
For a desk reset, that might be making the work surface usable by routing charging cables underneath it. For a furniture repair, it could be stabilizing one loose joint. These are different promises from “I transformed my entire office” or “This chair is as good as new.”
Keep the claim within the evidence. If you reorganized objects but also removed half of them from the room, explain that removal. If a repair improves appearance but you have not tested durability, show the cosmetic result without promising long-term performance.
Pick a visible success check:
- Organization: the same everyday items fit and remain accessible.
- Cleaning: the same surface is shown dry under similar light.
- Repair: the specific loose component is tested before and after.
- Craft: the unfinished and finished versions use the same scale and viewing angle.
That success check determines which footage you cannot afford to miss.
Capture the original state before it disappears
The most expensive mistake happens before editing: you start the work and realize you never recorded a usable baseline.
Record a steady wide view, a close view of the problem, and a short demonstration of the inconvenience. For the desk example, show the full surface, the cable tangle, and the difficulty moving the keyboard. You do not need a long tour of unrelated clutter.
Watch those clips before touching the setup. Check focus, reflections, and whether the important detail is visible on a phone-sized display. A technically sharp clip can still fail if the problem occupies a tiny corner.
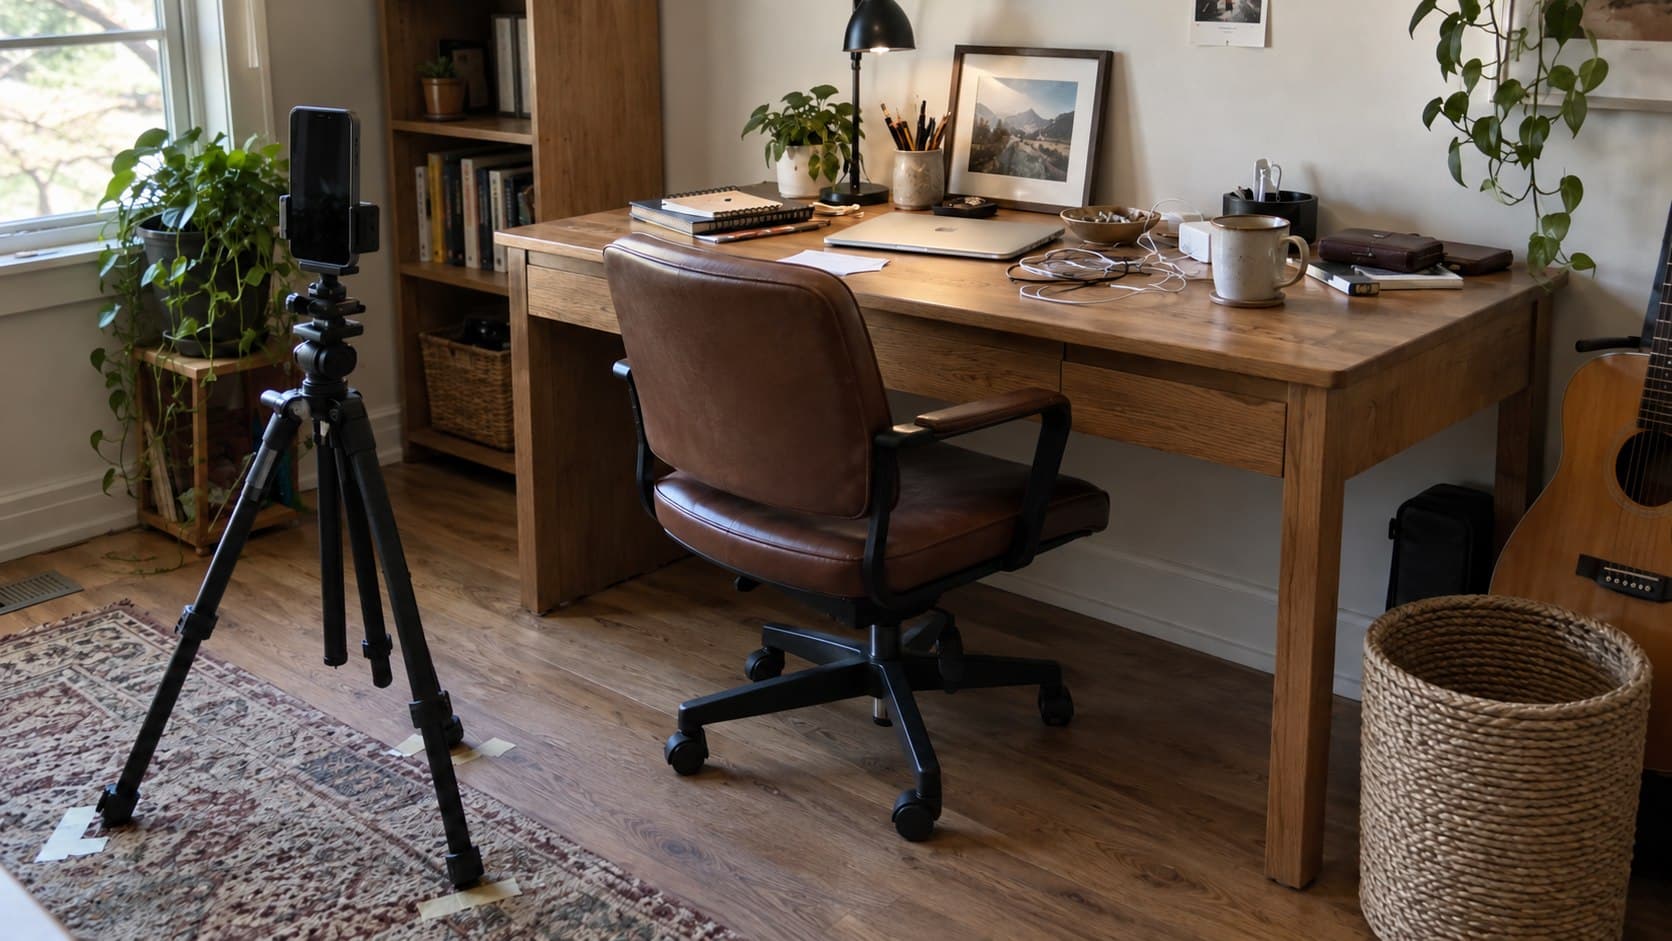
Save a still frame from the wide view as your reference. Keep it available while filming the final result. If the camera must move during the project, record its height and distance from the subject, and mark the tripod position with removable tape where safe.
Do not create a more dramatic “before” by making the scene worse. If you stage a demonstration rather than document an existing problem, say so. Viewers should not have to guess which parts of the story were reconstructed.
Match the conditions that could exaggerate the result
For before-and-after TikTok videos, continuity is part of the explanation. The viewer should not need to mentally correct for a new angle, different exposure, or a wider lens.
Keep camera position and framing stable
Use the same phone camera and lens setting for both comparison shots. Match the height, tilt, distance, and orientation. Find fixed landmarks, such as desk corners or shelf edges, and place them in the same parts of the frame.
If your editor supports an overlay, a temporary reference-frame overlay can help alignment. Otherwise, alternate between the saved still and the camera preview. Remove any temporary guide before exporting.
Keep lighting reasonably comparable
A dim, cool starting shot and a bright, warm final shot can make a modest change look larger than it is. Keep lamps and curtains consistent where practical. If daylight changes substantially during a long project, explain the difference instead of pretending the conditions match perfectly.
For cleaning demonstrations, show the finished surface after it has dried when wetness would alter its appearance. Avoid filters that make the final condition look cleaner, smoother, or more colorful than it is.
Preserve scale and relevant objects
Do not move closer for the “before” and farther away for the “after” if that makes clutter or damage seem smaller. Retain a useful reference object where it helps viewers judge size.
When the makeover includes buying storage, discarding objects, or replacing a part, include that information. These are legitimate changes, but they are different from fixing the same setup without additional materials.
Choose a reveal sequence that serves the viewer
There is no requirement to hide the result until the final second. Choose the sequence based on what your audience came to understand.
Result first suits an instructional post: show the improvement briefly, identify the original problem, demonstrate the important intervention, and return to the matched comparison. This tells viewers what they will learn without forcing them through an unexplained setup.
Problem first suits a diagnosis: show the frustrating behavior, explain its cause, demonstrate the fix, and repeat the original test. The payoff is not merely a prettier frame; it is evidence that the specific problem changed.
Direct comparison first suits a visually clear transformation: cut between the matched starting and finished views, then explain the most important step. Leave each comparison visible long enough to inspect rather than flashing both frames under a complicated effect.
Whatever sequence you choose, preserve the step that connects cause and result. A jump from messy desk to immaculate desk can entertain, but it does not explain cable routing. Add the one process shot that makes the improvement reproducible.
A hypothetical desk-reset plan
Imagine an organizing creator preparing a post about charging cables that repeatedly fall behind a desk. This is an illustrative filming plan, not a customer result.
- Record the original desk from a fixed tripod position, including the objects that will remain afterward.
- Film a close shot of a disconnected cable slipping behind the desk.
- Capture the installation of a cable holder, including its placement and any surface preparation required by its instructions.
- Return the everyday objects to the desk and record the finished wide shot from the reference position.
- Unplug the same cable and show whether the holder keeps it accessible.
A suitable opening would be: “I stopped this charging cable from falling behind my desk.” An unsuitable one would promise a completely clutter-free workspace when the video only demonstrates one cable fix.
If the holder fails the test, keep that finding. The next useful post could compare a different placement or explain why the surface was unsuitable. You do not need to edit an unsuccessful attempt into a success story.
Turn the comparison into an account-informed next post
Once the evidence is clear, choose the packaging. InsightTok AI can help connect a filmable idea to a niche-relevant sound, hook options, and an account-specific posting window through Next Post Studio. Treat those suggestions as planning inputs, not substitutes for deciding what your footage honestly demonstrates.
Write two opening lines: one naming the nuisance and one naming the visible outcome. The hook generator can help explore wording, but reject any option that overstates the result or introduces an unrelated promise.
Choose audio after establishing the sequence. If narration explains a necessary step, keep music low enough that the explanation remains intelligible. Do not cut away from the success check merely to land a transition on a beat. Use only audio you have permission to use for the post's purpose.
Then select a posting window you can realistically maintain. Timing cannot repair a confusing comparison. Your immediate priority is a complete, readable demonstration.
Evaluate clarity separately from reach
TikTok's current TikTok Studio guidance describes account and video analytics, including viewer information, activity times, and engagement insights. Availability can vary, so use the fields actually present in your interface.
Review the post against its intended job. For a teaching post, comments asking about the placement or materials may suggest a useful follow-up. Comments repeatedly asking what changed may indicate that the comparison was difficult to see. Read the actual questions before assigning a meaning to the comment count.
Compare similar projects and runtimes after the same observation period. Use available viewing and engagement metrics alongside those questions. One successful reveal does not establish that its music, timing, or opening sequence caused the performance.
InsightTok AI can support the next planning decision with account-specific performance context. Your interpretation still matters: choose a follow-up that answers a real unresolved question, rather than simply producing a more dramatic makeover.
Your final comparison check
Before publishing before-and-after TikTok videos, watch the draft once without sound and once with narration:
- Can a new viewer identify the specific change?
- Are the original and finished views fairly matched?
- Did you disclose meaningful removals, replacements, or changes in conditions?
- Is the key intervention visible rather than implied?
- Does the closing test support the opening promise?
If any answer is no, fix that gap before adding another effect. A useful next post starts with a trustworthy comparison and ends with a clear decision about what the viewer can try.
To turn that demonstration into a focused hook, sound, and posting-window plan, create your next-post plan.
InsightTok AI Team
Expert in TikTok growth strategies and social media analytics. Helping creators reach millions with data-driven insights and AI-powered recommendations.
Ready to Grow Your TikTok?
Get AI-powered analytics and content recommendations to boost your views and engagement.
Start Free TrialRelated Posts
Why Your TikTok Creator Income Arrives in Chaotic Waves: The Multi-Stream Payment Timing Framework
Unravel the mystery behind TikTok creator payment schedule timing and learn how to manage your cash flow, reconcile fragmented income, and forecast your financial future.
Why Your Voice Comments Section Is Becoming Your Biggest Moderation Nightmare: The Rich-Media Comment Management Framework to Automate Audio Screening, Prevent AI Voice-Clone Impersonation, Block Harassment in Comments, and Scale Community Without Reviewing Hours of Audio Daily
Navigate the challenges of TikTok voice comments moderation with our step-by-step guide. Leverage AI technology to automate the process and maintain a safe, engaging community.
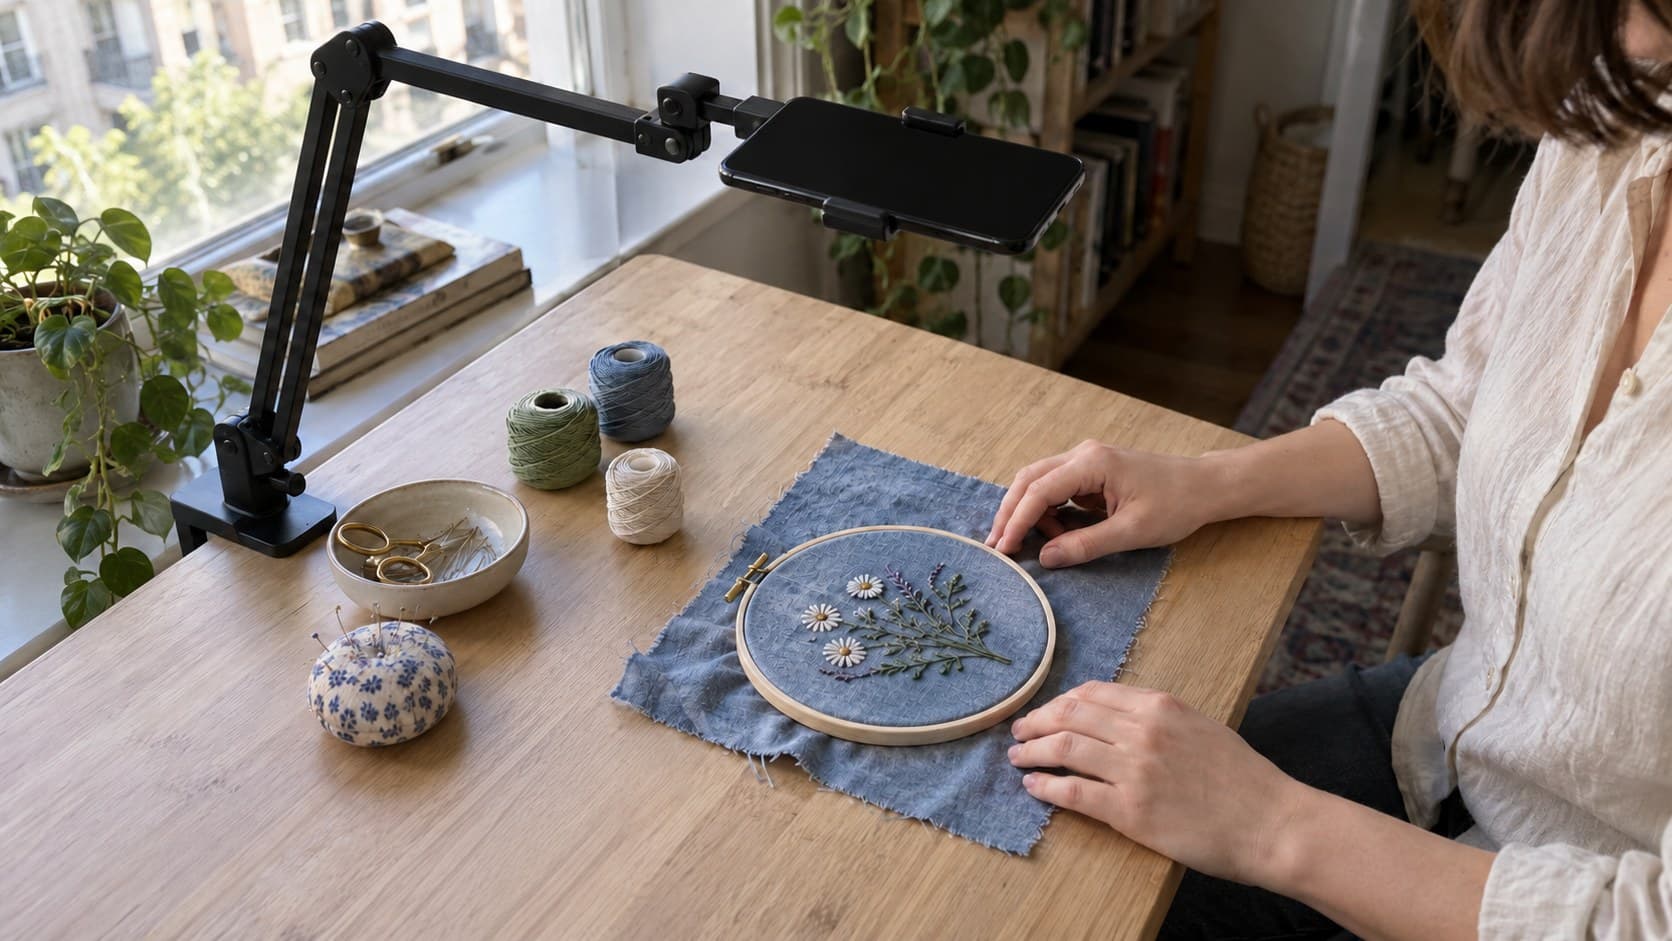
How to Film Overhead TikTok Videos Without Hiding the Action
Film overhead TikTok videos with clear hand placement, a stable phone setup, and a three-shot plan that makes the important action easy to see.