
Key Takeaways
What you'll learn in this article
- Check the original camera file before blaming TikTok: flicker captured during filming needs a different fix from an export or playback problem.
- Test one lamp at a time, then try a short recording using daylight or a different light source.
- Frame rate and shutter speed are different controls; changing frames per second alone does not guarantee clean footage.
- Save a short, verified lighting test with your next-post brief before recording the full tutorial.
Key Takeaways
- Check the original camera file before blaming TikTok: flicker captured during filming needs a different fix from an export or playback problem.
- Test one lamp at a time, then try a short recording using daylight or a different light source.
- Frame rate and shutter speed are different controls; changing frames per second alone does not guarantee clean footage.
- Save a short, verified lighting test with your next-post brief before recording the full tutorial.
To fix flickering lights in your TikTok video, first check whether the pulsing or moving dark bands appear in the original recording. If they do, isolate the light causing the problem, change the lighting or compatible camera settings, and record a short test before filming again. If the original is clean, investigate the edit, export, or playback instead of rebuilding your setup.
This guide is for creators filming indoor tutorials, demonstrations, and talking-head explanations with a phone. The goal is a usable recording session, not a supposed algorithm advantage. You do not need an expensive studio to run these checks, and you should not buy a new lamp before finding out which part of the workflow is failing.
First, find where the flicker enters the video
Keep your original footage. Compare the same moment in three places: the camera file, the exported edit, and the TikTok preview or published version if one already exists.
Look at an area that should remain visually steady, such as a wall, tabletop, or the side of a product. Note what changes:
- Repeating brightness pulses across the scene suggest a capture or lighting issue worth testing.
- Moving dark bands may point to a mismatch between the camera's capture timing and a light or display.
- Brightness that shifts when a hand or bright object enters the frame may involve automatic exposure rather than a flickering lamp.
- A clean original that becomes unstable only after editing needs an export comparison first.
These are diagnostic clues, not proof from appearance alone. Play the original on another screen if possible. If the problem appears on only one display, investigate playback before discarding good footage.
For an export-only problem, remove effects from a duplicate project and export a short section using settings compatible with the source. Compare that version with the original. Avoid repeatedly downloading and re-uploading a compressed copy while trying to identify the cause.
Isolate the light before changing every camera setting
The quickest useful experiment is often physical rather than technical. Keep the phone fixed, keep the subject in place, and switch off one nonessential light at a time using its normal controls.
Start with decorative lights, overhead fixtures, desk lamps, and the video light you added for filming. Make a brief recording after each change. Compare the saved clips, not just the camera preview.
If the room allows it, try a window-lit setup with artificial lights switched off. Do not point the camera directly into the bright window; position the subject so the useful action remains visible. Daylight can change with clouds, so this is a diagnostic test rather than a guarantee of perfectly constant brightness.
When one lamp appears responsible, try another available light or a different filming position. If a dimmable lamp behaves differently at another brightness setting, check that setting in a recording before relying on it. Avoid electrical modifications or improvised coverings over hot fixtures.
A useful stopping rule: if a simple lighting change produces a clean clip with readable subject detail, finish the tutorial in that setup. You do not need to solve every possible camera-light combination today.
Understand frame rate versus shutter speed
Frame rate describes how many frames the camera records per second. Shutter speed describes the exposure duration of each frame. They interact, but they are not interchangeable settings.
Camera manufacturers explicitly document flicker as a capture problem. Nikon's movie flicker-reduction guidance describes reducing flicker and banding under fluorescent or mercury-vapor lighting by matching the relevant frequency. It also lists manual shutter-speed options appropriate to local power frequency.
That documentation is for a particular Nikon camera, not a promise that your phone exposes the same controls. The practical lesson is narrower: capture timing matters, and a setting that works in one lighting environment may not work in another.
If you already use a camera app with manual video exposure, reasonable test combinations include:
- In a 50 Hz lighting environment, 25 fps with a 1/50-second shutter.
- In a 60 Hz lighting environment, 30 fps with a 1/60-second shutter.
Treat these as starting points, not universal prescriptions. A lamp's electronics or a screen in the background can require a different solution. Confirm the local power frequency rather than assuming every country in a continent uses the same one.
Changing shutter speed also changes exposure and the appearance of motion. Check moving hands as well as the static background. A clean wall is not enough if the demonstration becomes too dark or the important action is hard to see.
What to try on an iPhone or Android phone
On an iPhone
Apple's current video-recording guide documents model-dependent recording formats, including PAL options, and directs users to Settings, Camera, then Record Video. Available resolutions and frame rates vary by device.
For a controlled test in a 50 Hz environment, look for an available 25 fps recording option. In a 60 Hz environment, try 30 fps. Record the same short action under the same lamp and compare the files.
This is not the same as manually setting shutter speed. The built-in camera may still change exposure automatically. If the frame-rate test fails, return to isolating the light rather than assuming you selected the wrong TikTok upload option.
Settings in the phone's Camera app also do not necessarily govern recording inside another app. Run the test in the exact recording app you intend to use, or record a clean camera file and import it into your editing workflow.
On Android or another recording app
Check the documentation for your specific phone and camera app. Some offer an anti-banding control, a power-frequency option, or manual video exposure; others do not. A similarly named still-photo feature is not evidence that it applies to video.
Use the controls actually available, change one variable at a time, and compare saved test recordings. Do not install a paid camera app solely because a tutorial implies every phone needs one. Replacing the troublesome light or filming beside a window may solve the immediate problem more simply.
Run a repeatable test before the full take
Once you have a promising setup, make a short clip that resembles the actual post. Include the same subject position, a moment of stillness, the key hand movement, and any bright object you will bring into the frame.
Use this sequence:
- Record the baseline with your current lighting and settings.
- Change only the suspected light or one camera control.
- Record the same action again.
- Review both saved files at normal speed and pause on the affected background.
- Keep the cleaner setup only if the essential detail and motion remain understandable.
Write down the recording app, selected frame rate, manual shutter speed if applicable, lights used, and their positions. A quick reference photo of the setup can be more useful than a long technical note.
This is especially helpful when troubleshooting flickering lights in your TikTok video during batch filming. Test before recording the batch, and retest when you move rooms or change lamps. A setup that worked yesterday is a reference, not proof that today's conditions are identical.
Can you save footage you already recorded?
Sometimes a brief affected section can be replaced with a clean pickup shot while retaining useful narration. If the defect runs through the entire demonstration, compare the effort of repair with a focused reshoot under tested lighting.
If your editor offers a deflicker tool, try it on a duplicate short clip before processing the full video. Judge the result at normal playback speed and inspect moving edges. Do not assume a filter can reconstruct missing detail or remove every rolling band without artifacts.
Avoid hiding an essential step behind an unrelated cutaway just to cover the defect. The repaired tutorial still needs to show what it promises. When the only clean solution is to refilm the important action, keep the script and shot list so the second session stays focused.
Turn the clean setup into a finished next-post plan
Technical troubleshooting should end with a publishable idea, not another evening of adjusting equipment. Once the test passes, write a compact brief: the viewer's problem, the opening promise, the action you must show, and the lighting setup you verified.
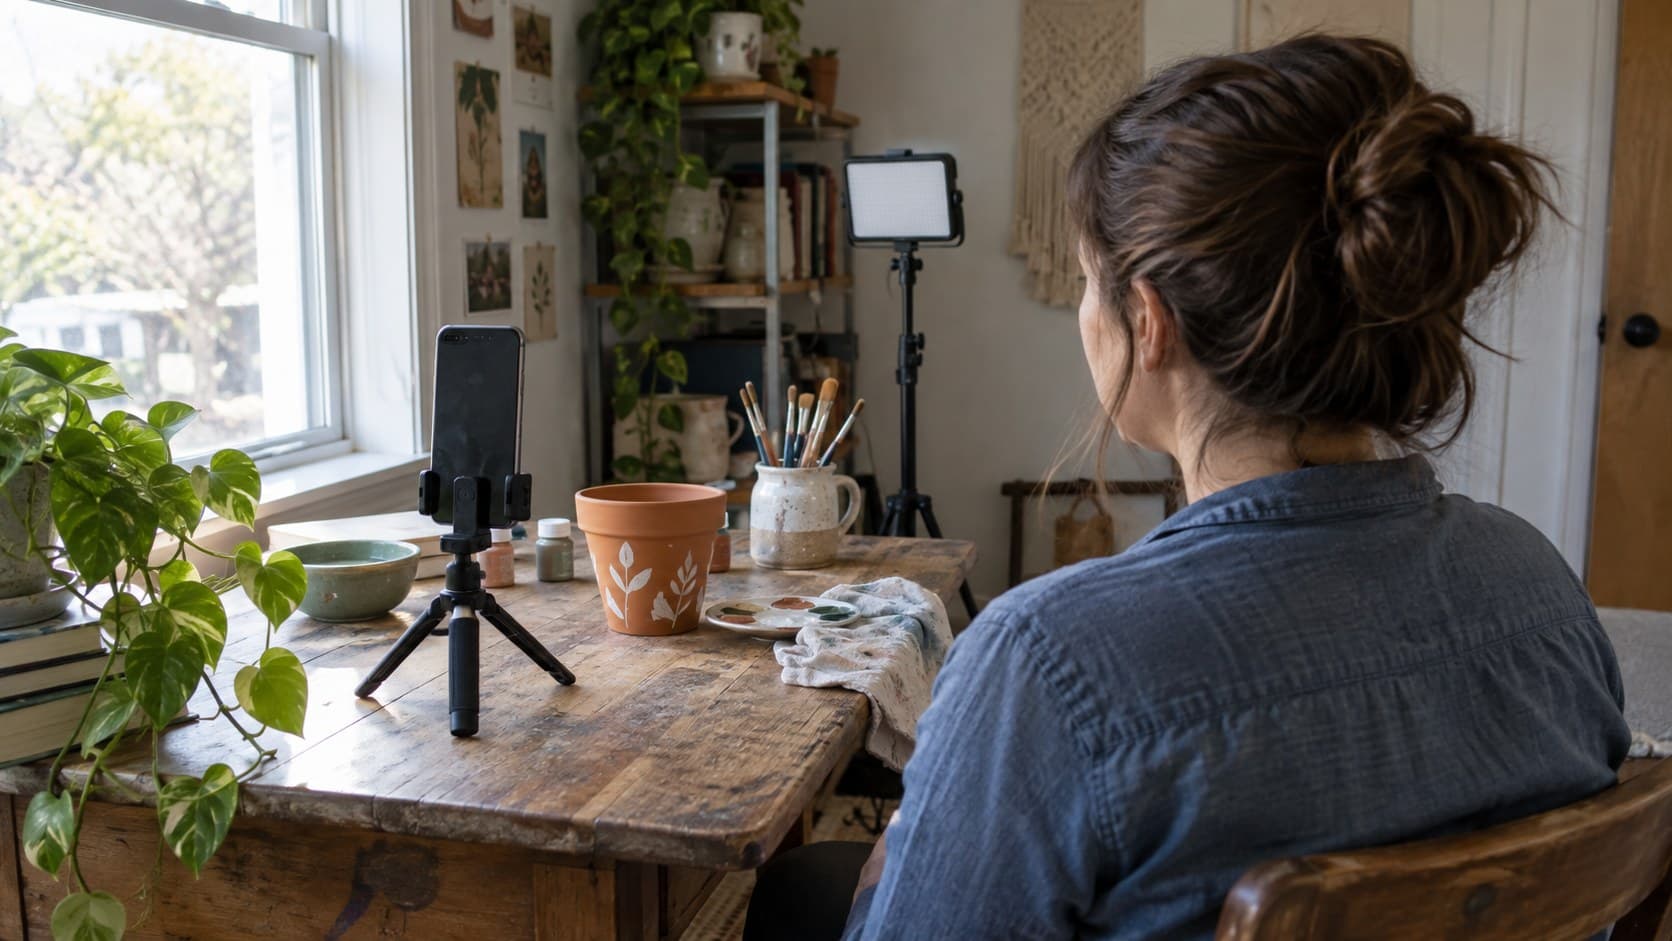
For example, a hypothetical craft creator filming a pot-painting tip might keep the window-lit setup, show the brush technique close up, and open with the exact mistake the demonstration corrects. This is a planning example, not a reported creator result.
Use the free hook generator to explore wording if needed, but choose a hook the footage can actually support. InsightTok AI's Next Post Studio can help turn the topic into a next-post plan with useful hooks, a niche-relevant rising sound, and a personalized posting time. It does not diagnose or repair camera flicker.
Keep the roles separate: your recording test establishes visual clarity; your content plan establishes what the viewer will learn. Browse the creator resource library for the next production question only after this one is resolved.
If you want help planning what to film after fixing flickering lights in your TikTok video, try InsightTok AI and bring one clear topic to your next session.
InsightTok AI Team
Expert in TikTok growth strategies and social media analytics. Helping creators reach millions with data-driven insights and AI-powered recommendations.
Ready to Grow Your TikTok?
Get AI-powered analytics and content recommendations to boost your views and engagement.
Start Free TrialRelated Posts
How to Fix a Mirrored TikTok Video Before Posting a Tutorial
A practical orientation check for tutorial creators: fix reversed footage, keep captions readable, and make left-right instructions clear before publishing.
TikTok Captions Covering Your Video? Fix the Layout Before Posting
A practical caption-layout workflow for tutorial creators: keep essential actions visible, correct transcripts, and preview the next upload at phone size.
How to Back Up TikTok Drafts Before Switching Phones
Preserve unpublished TikTok videos before a phone change with checked exports, original footage, editing projects, and a practical rebuild checklist.