
Key Takeaways
What you'll learn in this article
- Identify whether the obstruction comes from speech captions, an added headline, or the TikTok interface before changing the edit.
- Protect the part of the frame that proves your lesson, then place readable captions around that action.
- Correct transcription errors and preview the video at phone size with sound both off and on.
- Keep accessibility improvements even when a single post's analytics cannot establish a performance effect.
Key Takeaways
- Identify whether the obstruction comes from speech captions, an added headline, or the TikTok interface before changing the edit.
- Protect the part of the frame that proves your lesson, then place readable captions around that action.
- Correct transcription errors and preview the video at phone size with sound both off and on.
- Keep accessibility improvements even when a single post's analytics cannot establish a performance effect.
TikTok captions covering your video are best fixed by identifying the text layer, moving or redesigning editable captions, and reframing the demonstration when necessary. Do not solve the problem by making every word tiny or removing access to the spoken lesson. The goal is a video where viewers can read the explanation and see the evidence at the same time.
For cooking, craft, fitness, and software tutorials, this is a production decision worth making before the next upload. A caption can transcribe a sentence perfectly while hiding the hand movement or button that makes the sentence useful.
First, identify which layer is covering the action
Creators often use “caption” to describe several different things. They do not all have the same editing controls.
- Speech captions transcribe the spoken audio. These may come from TikTok's caption tools or an external editor.
- Hook text is an added headline that introduces the video's promise.
- Instructional labels identify ingredients, steps, settings, or objects.
- The post description and app controls belong to the viewing interface, not necessarily to the video file.
Text exported into the video is part of the picture. You cannot reposition that text by changing the post description; return to the editing project and export a revised version. Keep an original without permanently embedded text so future changes remain possible.
TikTok's accessibility guidance distinguishes auto-generated captions from creator captions. It describes editing auto-generated text and designing creator captions, including font style and color. The controls available in your editor determine what you can reposition; do not assume every caption type has identical layout options.
Use a three-pass repair workflow
1. Mark what viewers must be able to see
Pause at the opening, the hardest step, and the final result. At each point, name the visual evidence the viewer needs.
For a recipe, that might be the knife position and the texture of a sauce. For a spreadsheet tutorial, it might be the selected cell and the menu item. For a sewing demonstration, it might be the needle entering the fabric.
This creates a protected demonstration area. It is not a universal pixel template: the important area moves with your subject, and interface overlays can differ by viewing context.
If the action fills the whole frame, moving captions alone may not solve the problem. Reframe the clip, change the crop without cutting off essential detail, or record a wider shot. Leave room for readable text deliberately rather than squeezing it into whatever space remains.
2. Give each text layer a different job
A hook should explain why to watch. Speech captions should carry the spoken explanation. A label should identify something the viewer might otherwise miss.
When all three repeat the same sentence, the frame becomes crowded without becoming more informative. Remove redundant decorative text first, not the accurate transcript.
For example, a cooking clip does not need a large persistent headline saying “How to stop tomatoes sliding,” a matching step label, and the same sentence transcribed beneath it. Let the headline introduce the problem, then clear it when the demonstration begins. Keep the speech accessible throughout.
If you need help shortening the opening promise, use the free hook generator as a drafting aid. Check the result against what the clip actually demonstrates; a shorter headline is only useful if it remains specific and true.
3. Make the remaining captions readable
Choose a clear typeface and a text treatment that separates words from the background. Check both bright and dark moments: white lettering that works against a cabinet can disappear against a white bowl.
Avoid solving TikTok captions covering your video by shrinking subtitles until they look tidy on a large editing monitor. Preview them on a phone at a normal viewing distance. If the text requires squinting, the layout still needs work.
Use sensible phrase breaks where your editor permits them. Keep text on screen long enough to follow naturally, and avoid flashy movement that competes with a precise demonstration. These are practical editing recommendations, not claims about an algorithmic preference for a particular font or location.
Correct the transcript before polishing the style
An attractive caption that changes the instruction is a bigger problem than an ordinary-looking caption that gets it right.
Review the generated transcript while listening to the original recording. Pay particular attention to:
- Negations, such as “do not tighten” versus “tighten.”
- Ingredient names, technical terms, and product names.
- Numbers, units, and the order of steps.
- Speaker changes or meaningful sounds needed to understand the scene.
TikTok's official instructions say creators can generate creator captions from the preview screen using the Captions button, then preview and edit each line before saving. For eligible auto-captioned posts, its guidance also describes tapping the caption and choosing Edit captions to edit or remove text.
Use the current options shown in your app. If the text is already embedded in an exported file, native transcript controls will not repair those embedded words. Correct the source edit instead.
Keep necessary speech information rather than replacing the transcript with a few keywords. A person who cannot hear the audio still needs the full instruction, not just the most dramatic words.
Run a muted review, then a sound-on review
A muted review catches more than awkward typography. It asks whether the visual lesson and written explanation work together.
Watch the entire draft without audio and answer three questions:
- Can I identify the problem before the demonstration starts?
- Can I read the explanation without losing sight of the important action?
- Can I tell what changed by the end?
Then watch with audio. Confirm that the captions match the speech and appear at the right moment. A caption that reveals an instruction too late can force viewers to mentally reconstruct a step they have already missed.
Inspect the closest available in-app preview, not just the clean export in your camera roll. Check for conflicts with the description and app controls. There is no single placement rule in this workflow that guarantees visibility across every device and interface state.
Finally, look for duplicate text layers. If an external editor has already embedded subtitles, adding another visible transcript can create a second obstruction. Inspect the actual viewing result and choose a coherent caption setup without discarding accessibility.
A practical cooking example
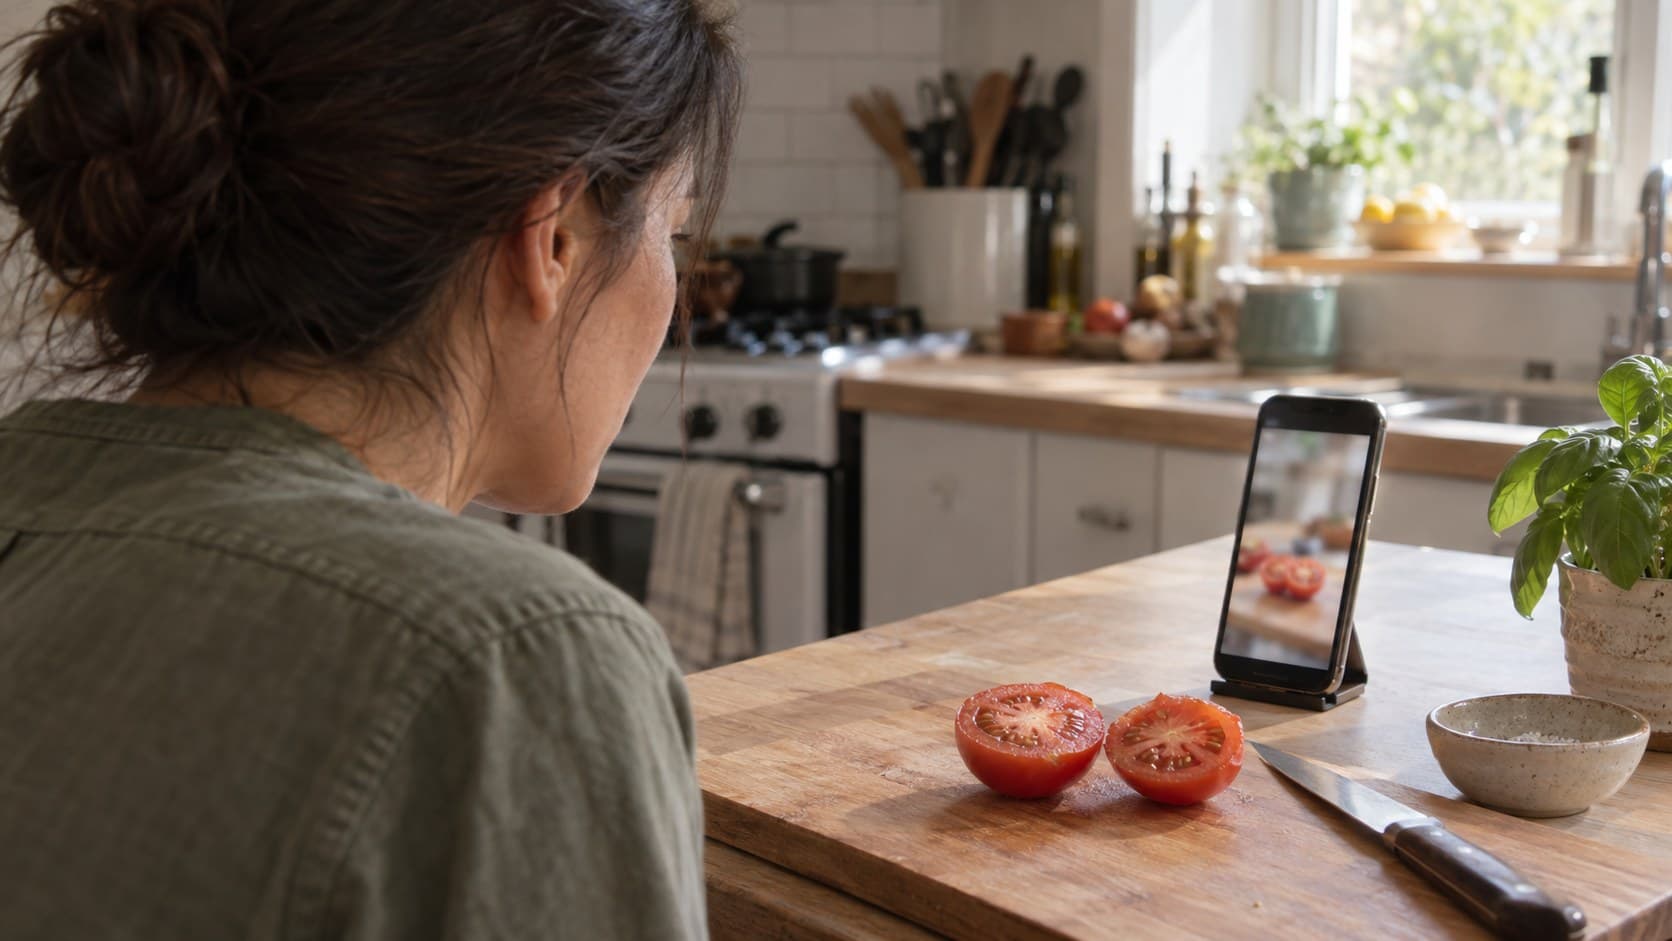
Consider this hypothetical scenario: a creator films a tomato-cutting tutorial. The camera is close to the chopping board, and two lines of subtitles sit directly over the blade and fingertips.
The fix is not to remove captions or move them blindly to another corner. The creator first identifies the essential visual: the stable flat surface against the board. They reframe the clip so the demonstration sits in a clear area with room above it.
The opening headline introduces the outcome, then disappears before the cut. The corrected transcript occupies the reserved space. An ingredient label is removed because the tomato is already obvious. During the muted review, both the instruction and the knife position remain understandable.
No growth result is implied here. The success criterion is observable before publishing: the viewer no longer has to choose between reading the lesson and seeing it.
Carry the fix into your next-post plan
Once you have repaired the current draft, document the layout so the same obstruction does not return in every recording session.
A useful next-post brief includes:
- Audience problem: the specific mistake or question the video answers.
- Visible proof: the action, comparison, or result that must remain unobstructed.
- Opening promise: one accurate sentence.
- Caption plan: the reserved area and transcript review step.
- Audio role: narration first, with background sound only if it serves the lesson.
- Publishing window: a practical account-specific starting point.
InsightTok AI can help with the planning side through Next Post Studio: useful hooks, niche-relevant rising sounds, and personalized posting-time guidance. It is not a substitute for checking caption accuracy or visual placement in your editor.
After posting, compare similar tutorials rather than treating one result as proof that a layout caused more reach. TikTok Studio documents account and video analytics, viewer activity times, and engagement insights; the tools you see can vary by interface and availability.
Use your available metrics and viewer feedback to choose the next experiment. Requests to move the text or clarify a hidden step are actionable usability feedback even when view counts are inconclusive. Keep accurate, readable captions as a baseline instead of making accessibility conditional on winning a performance test.
Your final pre-upload check
Before publishing, confirm that the opening, hardest step, and result are visible; the transcript is accurate; the text survives bright and dark frames; and the in-app preview has no conflicting layers.
The durable fix for TikTok captions covering your video is to plan text and visual evidence together. For your next tutorial, choose the lesson first, reserve space while filming, and review the final draft at phone size.
If choosing that next lesson is the sticking point, try InsightTok AI to turn account-specific insights into a focused next-post plan.
InsightTok AI Team
Expert in TikTok growth strategies and social media analytics. Helping creators reach millions with data-driven insights and AI-powered recommendations.
Ready to Grow Your TikTok?
Get AI-powered analytics and content recommendations to boost your views and engagement.
Start Free TrialRelated Posts
How to Back Up TikTok Drafts Before Switching Phones
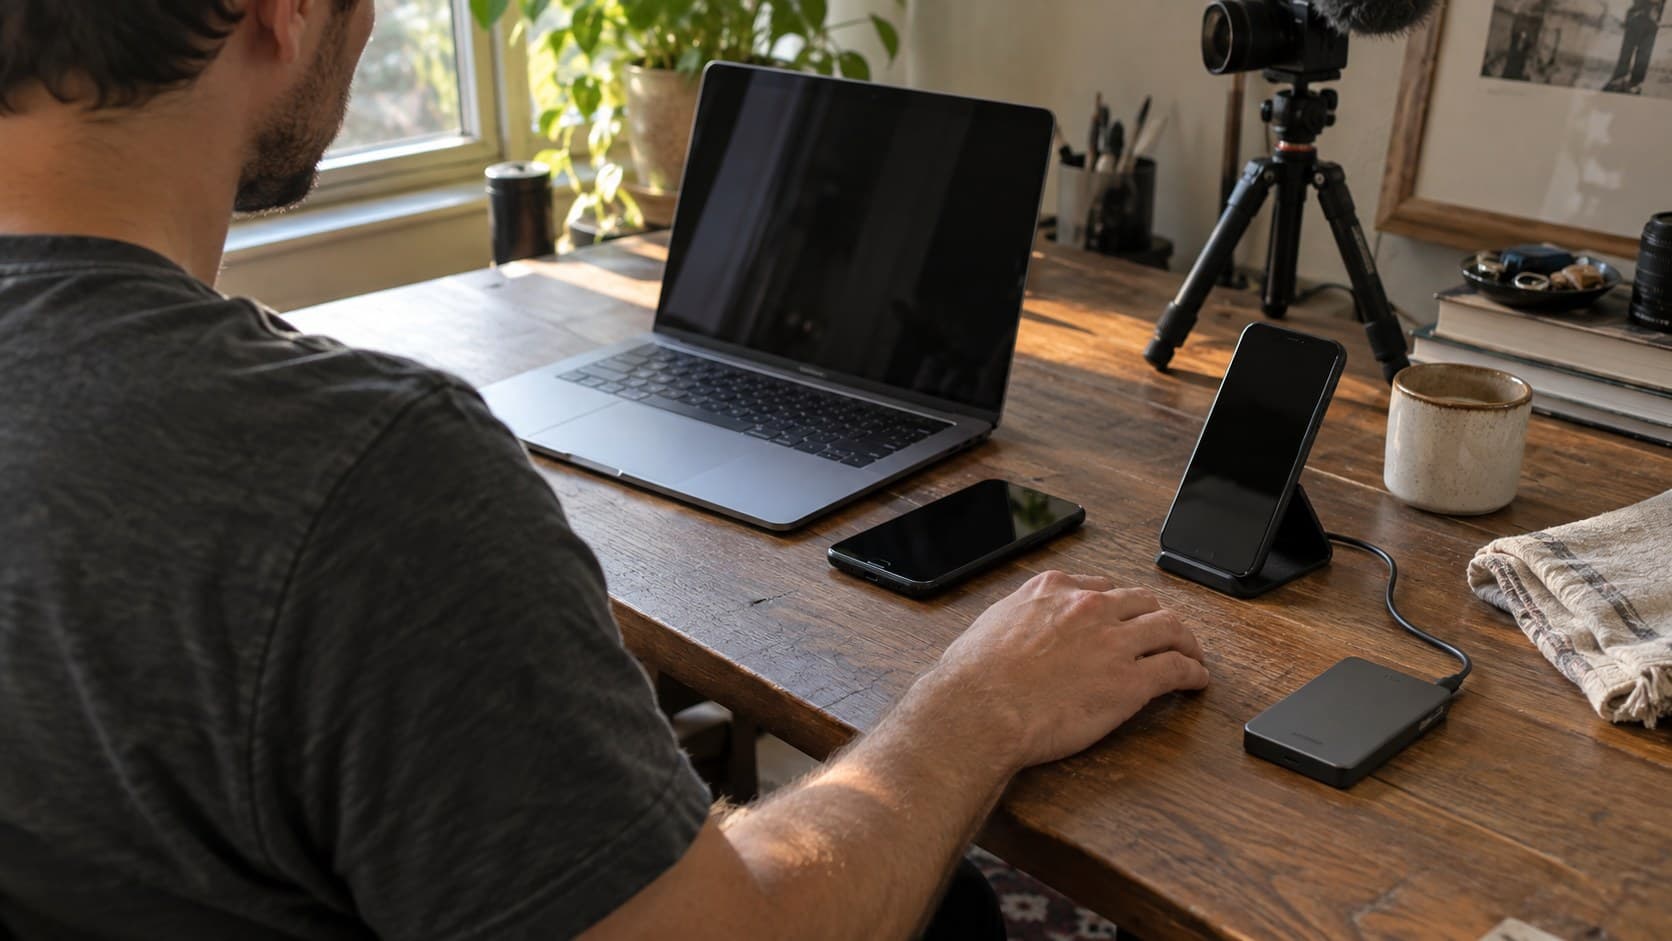
Preserve unpublished TikTok videos before a phone change with checked exports, original footage, editing projects, and a practical rebuild checklist.
Why Your Creator Profile Gets Skipped by Brand AI Search in 2026: The AI-Readable Profile Framework to Optimize Portfolio Signals, Match Campaign Briefs Faster, and Convert 3-5x More Brand Deals Without Chasing Sponsorships
Discover how AI Search is changing the game for TikTok creators and how you can optimize your profile to secure more brand deals using InsightTok AI.
TikTok Screen Recording Tutorials: Keep Private Data Out of the Frame
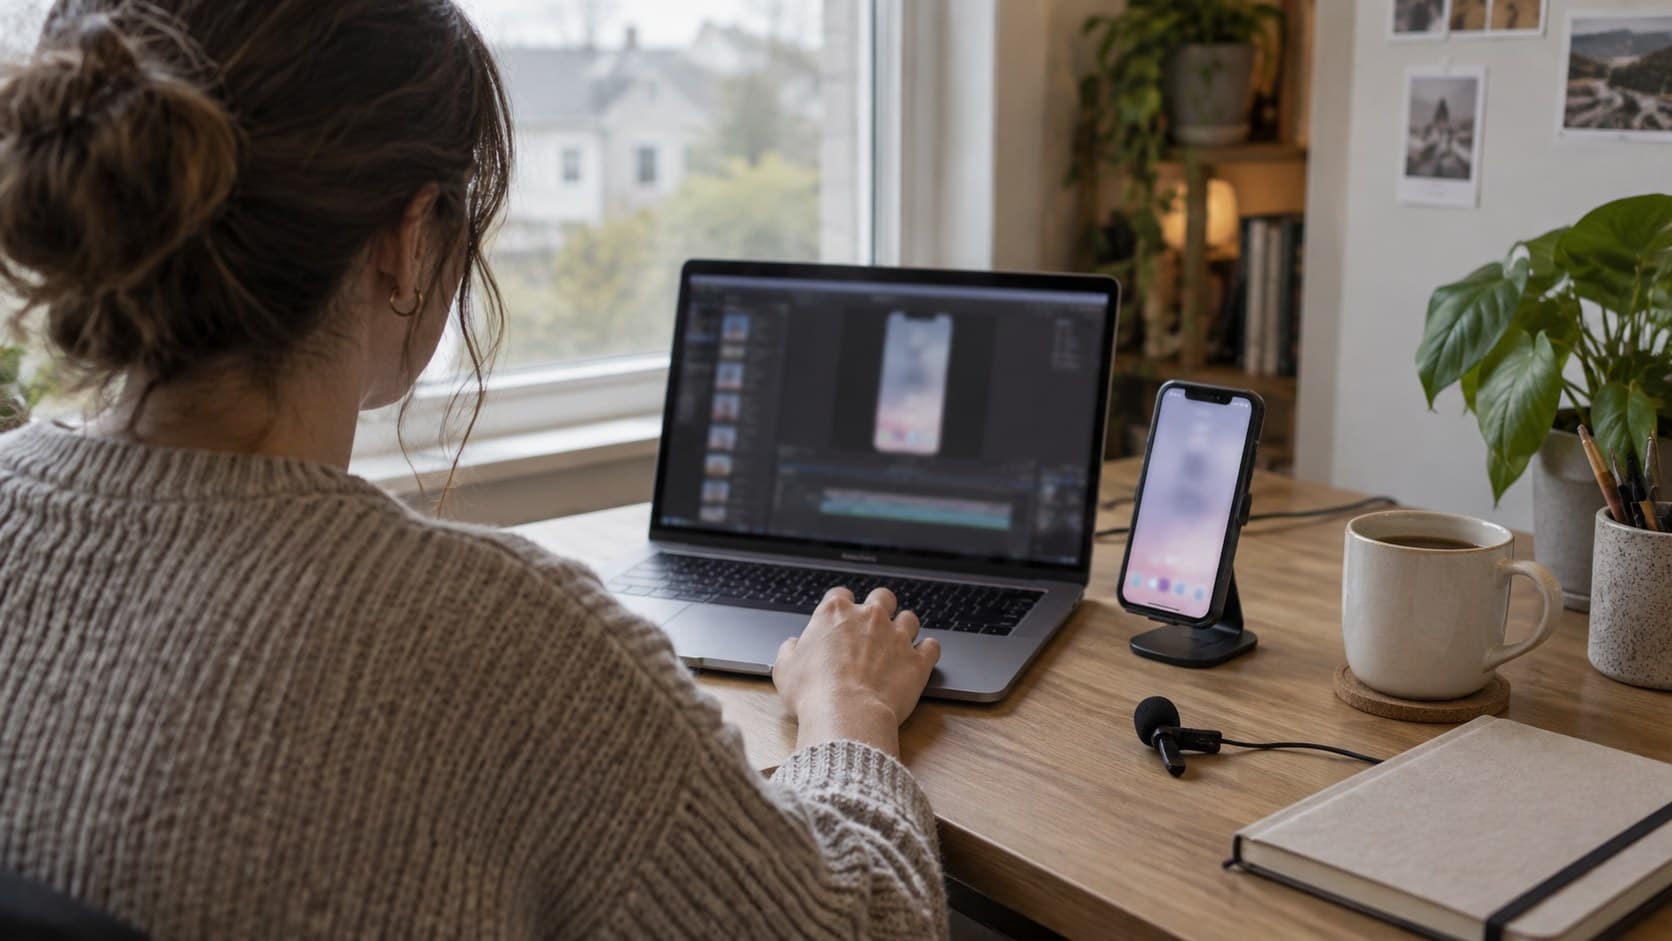
A practical recording workflow for software and productivity creators: prepare demonstration data, control interruptions, and review the export without hiding the lesson.